
Developing and Using Infor VISUAL Macros to Automate Common Tasks
As a user of Infor VISUAL, you may have noticed the Macro menu within various modules and wondered what all you could do. Macros, in a generic sense, are small programs that contain a list of instructions you want your computer to perform for you. In the case of Infor VISUAL, these macros are written in the VBScript language, which is a subset of the Microsoft Visual Basic programming language. When you use macros within VE, all of the screen fields are made available for use within your script for both read and write. Best of all, the macro is merely automating interactions with those fields, so all business logic is still applied to any data input.
In Visual 6.5.2 and below, macros only exist in the Visual Manufacturing modules. In later versions, they were added for almost all screens. When you create a macro, it generates files with a VMS extension in the directory from where you run VISUAL. So only users with write access to this directory will have the right to create macros. The file naming for macros is formed in the pattern MODULENAMEMACRONAME.VMS, so if you had a macro called ‘Hello World’ in the Customer Order Entry module, the file name would be ‘VMORDENT_Hello World.vms.’
Your macros will show up under the ‘Macro’ menu for the module.
“On Event” Macros
While you can name your macros whatever you like, there are a few “special” macro names that cause them to run automatically for specific events:
OnSave
Macro fires before the save transaction hits the database. This is an excellent spot for you to apply validations (that could prevent the save from hitting the database) or intercept / update values right before they are committed. A few examples of projects where we have used this sort of macro:
Customized auto numbering routines for parts, customers, customer orders, etc. Because you have the opportunity to populate that blank record ID field right before the save and Visual will accept it, this type of macro is perfect for implementing your auto numbering routine.
We have done just about as many “validation” type macros. A good example is a macro that would look for any lines on the customer order that had the ‘New W/O’ checkbox checked, but the part for that line didn’t have an engineering master set up. We detected that situation, notified the user, and prevented the record from being saved when it occurred.
Perhaps you need to implement a bespoke pricing logic that you could not normally implement in Visual. Macros are perfect for this as they can do elaborate lookups, calculations, and change the pricing as the save occurs. They are also great for calculating commissions into user-defined fields.
OnAfterSave
OnAfterSave fires AFTER the record has hit the database. You might be asking, “what good could that possibly do - wouldn’t it be too late then?” These macros are helpful when you need the record ID assigned by the database, and then you want to perform some additional work after you have it. A few examples where you might use this sort of macro:
You want to email an order acknowledgment to your customer when they successfully save their order.
You want to build a custom engineering master for a quote based on some complex logic (avoiding having your team construct those EMs by hand each time).
OnLoad
This type of macro will automatically fire whenever a record is loaded. For example, when you browse and select a customer ID within customer maintenance, this type of macro might give your users a stern warning about updating a particular part.
OnNew
This macro will fire whenever you click the new button in a module, often a great place to apply all of the field defaults you want in place.
Manufacturing Window Specific
There are some manufacturing window specific macros to be aware of - they act just like the ones described above, but for the individual objects you will edit within that module: OnAfterSaveWO, OnAfterSaveOP, OnAfterSaveMAT, OnAfterSaveLEG, OnNewWO, OnNewOP, OnNewMAT, OnNewLEG, OnLoadWO, OnLoadOP, OnLoadMAT, OnLoadLEG
Example: Customer Order Entry Auto Numbering
This example provides a very trivial example of an auto numbering routine for customer order entry. In the “real world,” you will probably do something smarter than this, but this keeps the steps simple for understanding. In this example, new customer orders will be numbered with the customer ID as a prefix and a timestamp as the remainder to make it unique. Here are the steps:
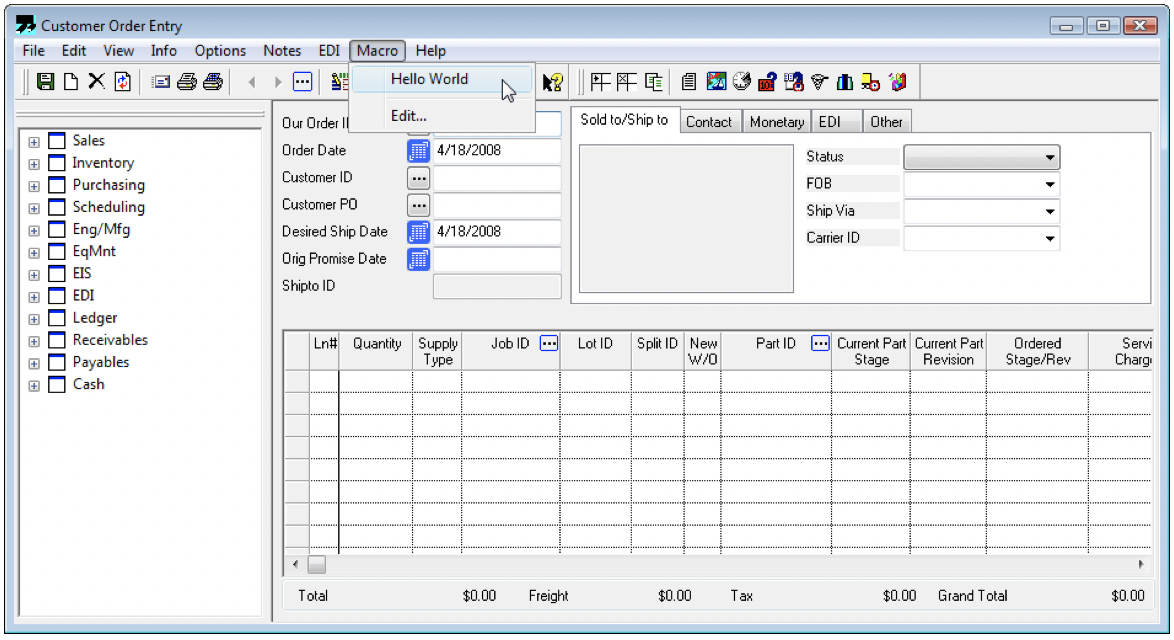
Go to Customer Order Entry. Then go to the Macro menu and select ‘Edit.’
In the ‘Macro Name’ field type, “OnSave” and press the “Save” button. Don’t worry about the seemingly critical “Macro Does Not Exist” message.
Enter the following into the editor:
if ORDER_ID = "" thenORDER_ID = CUSTOMER_ID & Year(Now) & Month(Now) & Day(Now)End ifClick Save again and then click Close.
To deconstruct this just a bit, we are utilizing two fields here (that we knew were available via their presence in the ‘Available Fields’ drop-down) paired with some standard VBScript logic. The “if” statement tests to see if the ORDER_ID field is blank as we only want to change it in that case (it is a new record being saved in that case). Then when we get into the body of that “if” statement, we are setting that ORDER_ID field to a concatenation of the CUSTOMER_ID field and the year, month, and day. The result saving a record for customer ID “CENGRO” on 7/1/2019 would be “CENGRO20190701”.
Example: Setting the ship and promise date automatically
To reinforce the previous example, let’s say you also wanted to set the promise and ship date when an order is entered. This is a use case we have seen frequently and usually involves some additional logic to look up things like whether the inventory is on hand, purchasing lead time, etc. But for the sake of a simple example, here we set the promise and ship date based on the order date. Note only lines 3 and 4 are new here as this is built on top of the previous example:
if ORDER_ID = "" thenORDER_ID = CUSTOMER_ID & Year(Now) & Month(Now) & Day(Now)DESIRED_SHIP_DATE = ORDER_DATE + 1PROMISE_DATE = ORDER_DATE + 21End if
Doing database queries within a macro
We’ve eluded several times in this article for the more common need to look up data from other places to build powerful macros. To do that you will need to use VBScript to do database queries for you and utilize those results within your macro logic. Here is a snippet for how that works:
Dim PartIdstrCnn = "driver=SQL Server;server=127.0.0.1;uid=SYSADM;pwd=SYSADM;database=DEMO"strsql = "SELECT * FROM PART WHERE ID = 'PART123'"Set rst = CreateObject("ADODB.Recordset")rst.Open strsql, strCnnIf rst.EOF <> True ThenPartId = rst.Fields("ID")End Ifrst.Close
Advanced Techniques
There are occasions where the techniques spelled out here are still not sufficient to meet the needs of a project. Perhaps you want an entirely new interface to pop up (i.e. configurator) or you want to automate transactions within an entirely different module (i.e. creation of a customer order automatically creates a work order, issues materials, performs a receipt, and ships). All of this is possible by creating custom libraries in the programming language of your choice, exposing that library via COM, and calling it within the macro like so:
Dim pgmSet pgm = CreateObject("COADDINFO.MainClass")USER_1 = pgm.additionalInformation
Did this blog help you out at all? If so, please leave me a comment. Same if you have any challenges, I’m here to help! Lastly, if you are looking at this and realizing you want something like it but prefer to have me do it for you - please reach out!
