
An Intro To Epicor Kinetic Customizations For Developers
Intro
As somebody who has spent over 20 years now learning all of the tips / tricks / hacks to make Epicor ERP bend to the needs of my varied customers, the news that classic forms were going away in a few years was a bit alarming. So many of the creative techniques we have employed over the years came from the virtue of having this mini Visual Studio available on just about every form in the system - the possibilities were truly endless. I loved what Epicor created in what we are now calling “classic forms” and I was admittedly very skeptical that we could really replace it with this new no-code / drag-and-drop Application Studio. But I have seen the light - this technology is amazing and the little bit of pain we will go through right now to modernize will pay massive dividends over the years to come.
Give It A Fresh Set Of Eyes
First off, I think it might be worth noting that the Kinetic you are seeing right now in the desktop client is really a transitional version that does itself a bit of a disservice. If you are like me, you snoozed the suggestion to try the Kinetic forms many times because they were slower and felt out of place amongst the classic forms. The latency, the best I can tell, has nothing to do with how performant the toolkit is but rather the inefficiency of loading a unique web view up for every form. To that end, before you judge Kinetic you really owe it to yourself to try in where it is made to be run - in a web browser. If you are on newer release you should be able to do this right now - simply point your web browser to:
https://YOURAPPSERVER/YOUREPICORINSTANCE/Apps/Erp/Home
If you are cloud it will be something like this:
https://centralusdtappXX.epicorsaas.com/SaaSXXX/Apps/Erp/Home
You will see the familiar Home screen:

Try loading up a few modules in here and you will see what I mean about the desktop client doing a disservice to Kinetic - the transition between screens here is fast, everything feels cohesive, your web browser renders the fonts nicer, everything scrolls smoother, etc. And I think you will really start to appreciate some of the thoughtful redesign of various applications in the context of a web browser - take customer tracker, for example, they start off by immediately saving you your first few clicks that might be painful on something like a tablet by bringing up a customer list right away with focus in the field to select a specific customer ID:

Or you can still get to the traditional search by pressing the search button:
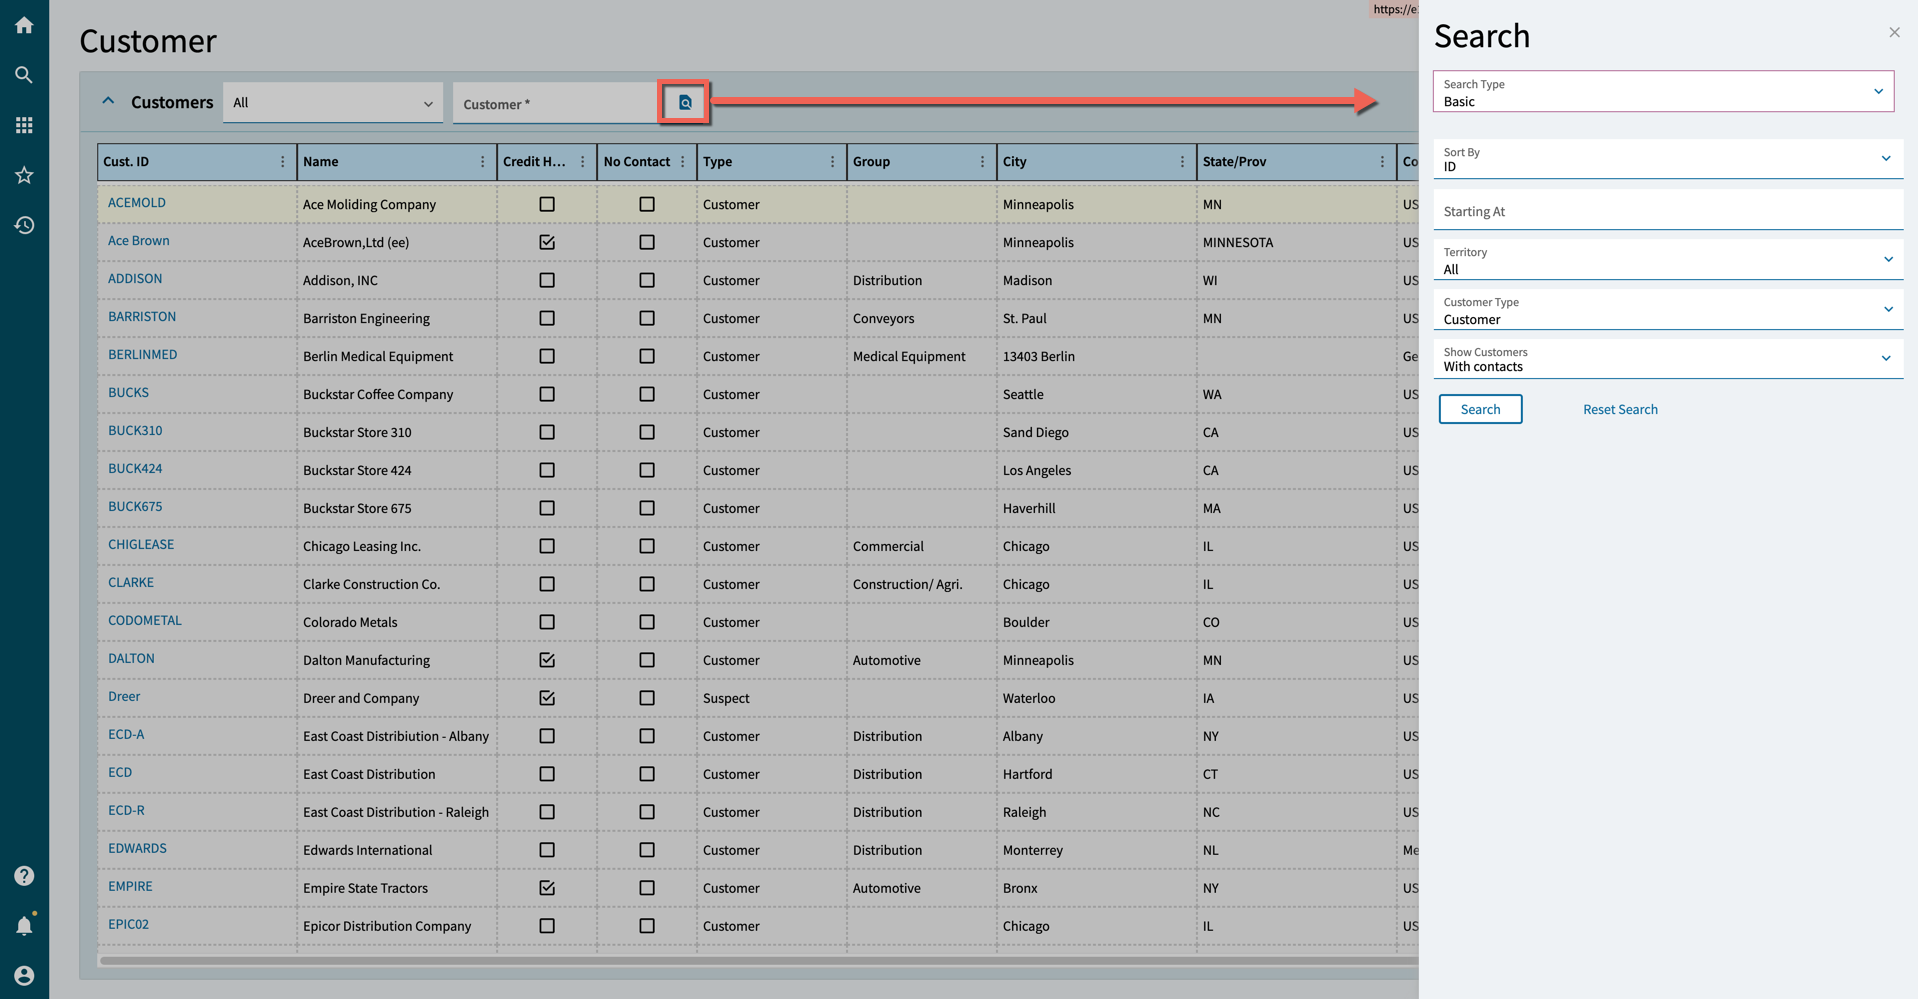
And when you actually select a customer you again get a re-imagined screen that ditches the million tabs for clean expandable / collapsable sections in a single view:

Learning Via Example: Adding A UD Field To The Screen
So let’s dig right in and I will explain new terminology and concepts as we go along. We are going to add a UD field to the customer tracker to let us know whether a given customer requires order verifications. Adding a UD field, by the way, cannot currently be done in Kinetic / via web browser - you will still need to do that via classic forms / desktop client. Epicor has understandably focused on the end-user facing forms first and will be uplifting the system management forms later on.
In order to add our field, your user will need to have ‘Customize’ privileges within user maintenance just as with classic forms. And, as with classic forms, you will get into “customization mode” first by launching the application you wish to customize. Then, in the upper right select the vertical overflow menu (the three dots) and choose Application Studio:

Now we are going to see the Application Map, which we will go into more detail on in a moment, but first let’s define our new layer for the customization we are making. Layers are a new concept rooted in something you are likely already familiar with. In classic forms, any time that we made a customization it was stored in the database as the sort of delta versus the base form. That is to say, if I added a checkbox onto the main panel in Customer Tracker all that was stored in the database was the X / Y coordinates of that new checkbox, how it was bound, etc. Everything you did in the customization dialog, including code, was stored in this manner so that when the form loads it starts off as base and then layers in whatever you defined in the customization. Kinetic is similar in this regard with a key difference - you can now stack multiple layers together for a given application. Why would this be important? Well it gives us some really nice new capabilities we didn’t have before:
It provides a sort of self-documentation of what exactly is going on. In classic forms it was really hard sometimes to know what had been changed over time as you had to rely on what developers typed within the comments box on save. With multiple layers you can now isolate groups of changes into their own layers so it is clear what was done.
That isolation of layers also makes it easier to merge in new work that has been staged / approved. If you have ever had multiple developers working on the same form at once, this one will resonate particularly well with you. It was a nightmare before to coordinate - now you can just have each developer work on their own layer and apply them upon approval.
It also makes removing deprecated customizations easier. Just pull the layer out - easy.
Lastly, it gives us a form of “source control” for a no-code tool that doesn’t really have source code. Layer your work out and, if something goes awry, pull the layer back out and you are back to where you were.
So, to that end, let’s create a new layer here for our UD field. Start by clicking the ‘New Layer’ link in the upper right:

Now fill in the details for this layer and press the ‘Save Layer’ link:
WARNING: At the moment, the description field seems to be limited to 60 characters even though it allows you to type an unlimited number of characters. You will get a non-descriptive error if you try to save exceeding this limit.
FYI: This one took me by surprise a bit, but the layers for Customer Tracker are also shared with Customer Entry. Tracker simply makes everything read-only, as you’d expect.

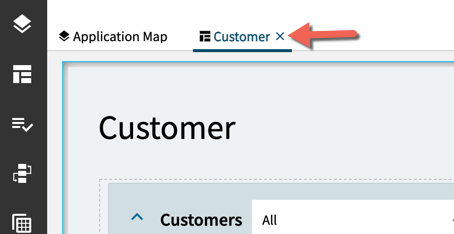
Now we are returned back to the Application Map working within our newly created layer:
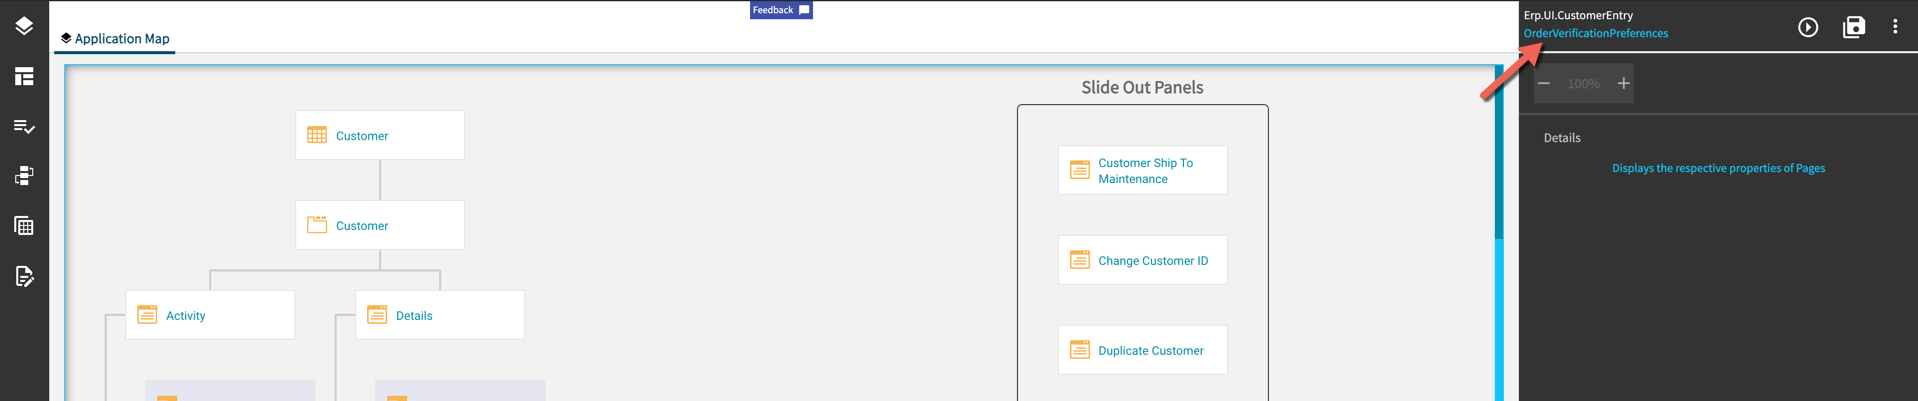
So now let’s talk about this Application Map a bit more. The Application Map is the way to visualize the entirety of an application. You are going to start off with what is called the Landing Page as the top-most object in the Application Map. Think about this like that first panel you’d encounter when you launch a classic form. You can see that by clicking on that first ‘Customer’ object and then clicking the ‘edit’ icon within it:


Notice how when we launched Customer Tracker earlier it started off in the search / list view - that is exactly what we are seeing here. The Landing Page for Customer Tracker is this search view and if you don’t like it, you can change it. We are looking to add our UD field to the selected customer view so close out of the designer for the Landing Page by clicking the ‘X’ here (you will need to hover over it to see it):
If we are back in Application Map we will see the next object down has a tab icon on it. If you click the edit icon for this one you will get an editor like so:

This view aligns with what we get when we select a customer. You will notice there is a header, which is now to be referred to as the Hero Bar and tabs for ‘Activity’ and ‘Details’ below. Within this editor we can add components, but not within the tab pages. In order to add widgets to the tab pages, we need to close out here and drill down one more level into the Application Map (notice how these two objects, Activity and Details, align with the tab names we reviewed on the previous screen):

Now we will be in the correct designer. Let’s say that we wish to add our custom checkbox right where all of the other checkboxes are under ‘Status’. In order to do so, start by dragging a checkbox component from the Toolbox to where you want it:

Now with the custom checkbox in place, click on it and then click on the Properties tab:

As we would typically do with classic forms, now would be the time to provide it with a more verbose ID for this new component and a label. In Kinetic there is no need to drag a separate label onto the screen as it is “baked into” the control. Also expand Data and fill in Customer.OrderVerificationsRequired_c (that is what I named my UD column, adjust accordingly).

Now we are ready to test this work out. In order to do so, press the Preview button in the upper-right:

In preview mode you can fully test the application out and ensure that everything operates as expected. When you are done previewing, click the little ‘X’ next to the ‘Preview’ text:

Now let’s get this layer set as the default for our users. Start by clicking the Save button and then click ‘Publish’ on the overflow menu:

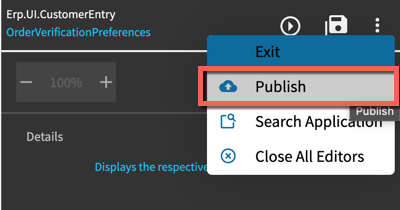
Then exit out of Application Studio by clicking ‘Exit’ also on that overflow menu and pull up Menu Maintenance on a full desktop client in classic forms (as noted before, most of these management tools have not yet been uplifted to Kinetic). In order configure a Kinetic menu entry with custom layers applied you need to first copy your existing menu entry:

And set the new menu entry up per the following. You might be asking yourself while filling this out “why am I picking Customer Entry instead of Customer Tracker” and also “why is there no Customer Tracker on the list”? As mentioned earlier, it seems that Customer Entry and Customer Tracker share the same application in Kinetic and that some values within this copied menu entry tell it whether to run in “tracker mode” or “edit mode”.

And that should be it, just close and re-open and you should see the layer defaulted.
Next Steps
So obviously we are just scratching the surface here and it will take many more articles for me to help clarify the parity in between what we can do with customizations in Classic forms vs Epicor Kinetic applications as developers. But while you wait for those articles, let me briefly spell out “the big picture” as I understand it:
The ‘Events’ section is pretty powerful and really changes the game by eliminating some of the tedious stuff we used to do in order to trigger BPMs / cause UI changes.
While you cannot write code in Application Studio, you can call Functions which really provides parity for a ton of what we would have done in classic forms. No new language to learn and code is more centrally managed.
Slide Out Panels are a better way to split up applications and eliminate the clutter. I cannot tell you how much code I have written over the years that conditionally show/hides screen elements to try to manage complex data, especially in order entry. I can see how these little slide-out panels will vastly improve the way we do things.
Data views are more powerful now, eliminating a lot of code we would have used in the past to pull in extra data.
“No code” does not mean “no developers”. This is still going to be a craft that requires development expertise and mastering incredibly complex sets of properties to configure functionality. I believe to effectively develop the sorts of customizations required by many Kinetic customers you will still need a solid understanding of C# for the Functions. You don’t need to know anything about web front-end development, just the nuances of Application Studio.
There are going to be some things we simply cannot do anymore. One example is work I did for a customer that embedded some TWAIN library in various classic form screens so they could simply put a piece of paper in a scanner, hit a button, and we scanned + attached a PDF to the loaded record. That required bringing in a 3rd party DLL and there is just no way that will work under the new framework. But you know what, there were things we couldn’t do in classic forms either that we can do now in Kinetic. We will adapt :)
Anyway, I hope this helps - let me know your thoughts. I always like hearing from you all!
